How to Change Bike Handlebars: A Step-by-Step Guide
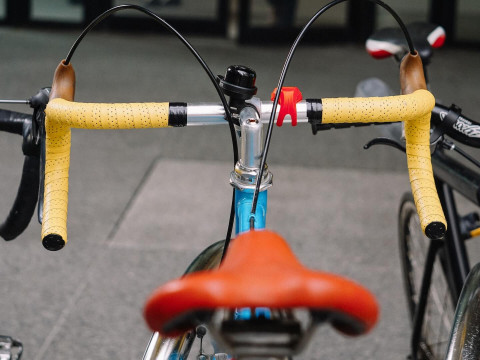
If you're a cyclist, you know how important it is to have a comfortable and properly functioning bike. One aspect of the bike that can greatly impact the ride quality is the handlebars. If you're experiencing discomfort or pain in your hands or wrists while riding, it may be time to consider changing your bike handlebars. In this article, we'll provide a step-by-step guide on how to change bike handlebars.
Introduction
Bike handlebars are an important component of a bike that can impact the rider's comfort and overall ride quality. If you're experiencing discomfort or pain in your hands or wrists while riding, it may be time to consider changing your bike handlebars. In this article, we'll guide you through the process of changing bike handlebars step-by-step.
Reasons to Change Bike Handlebars
There are a number of reasons why you may want to change your bike handlebars. Some of the most common reasons include:
- Discomfort or pain in hands or wrists while riding
- Wanting a different riding position
- Damage to current handlebars
- Upgrading to a better quality handlebar
Tools Needed to Change Bike Handlebars
Before starting the process of changing bike handlebars, you'll need to gather the following tools:
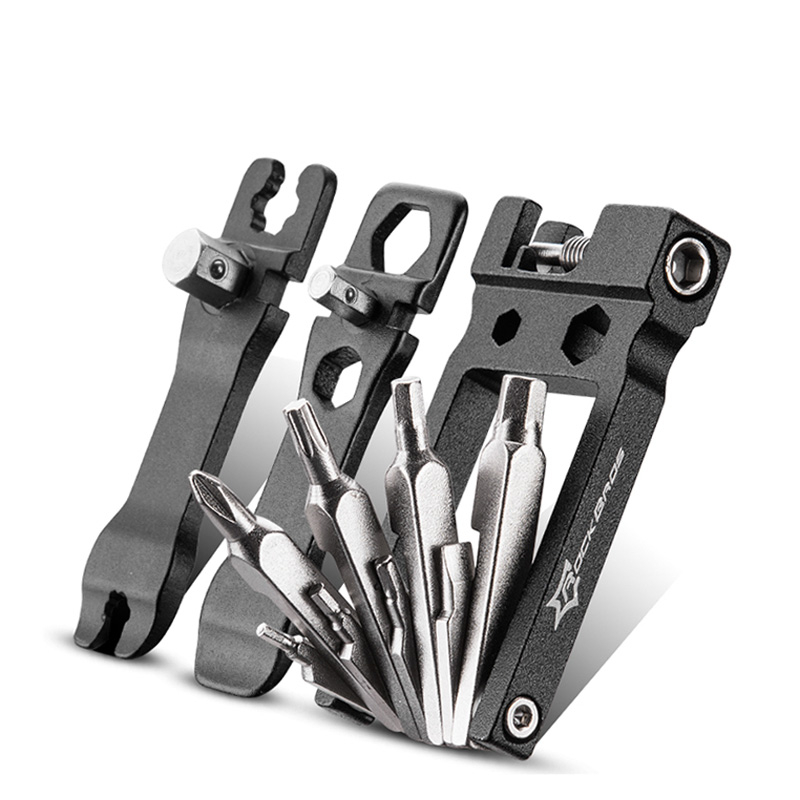
- Allen wrenches
- Screwdriver
- Torque wrench (optional)
- New handlebars
How to Remove the Old Handlebars
To remove the old handlebars, follow these steps:
- Loosen the stem bolts with an Allen wrench.
- Slide the handlebars out of the stem and set them aside.
- Remove any tape or grips from the old handlebars.
- Loosen and remove the brake and shift levers from the old handlebars.
- Remove the stem from the bike's steerer tube.
Choosing New Handlebars
When choosing new handlebars, consider the following factors:
- Handlebar shape: Drop bars, flat bars, and riser bars are the most common shapes.
- Width: Measure the distance between the two ends of the handlebars where they attach to the stem.
- Material: Handlebars can be made from aluminum, carbon fiber, or steel.
Installing New Handlebars
To install the new handlebars, follow these steps:
- Install the stem onto the bike's steerer tube.
- Install the brake and shift levers onto the new handlebars.
- Slide the new handlebars into the stem.
- Tighten the stem bolts with an Allen wrench.
- Install any tape or grips onto the new handlebars.
Adjusting New Handlebars
After installing the new handlebars, adjust them to your desired riding position. Follow these steps:
- Adjust the height of the handlebars by loosening the stem bolts and sliding the stem up or down on the steerer tube.
- Adjust the angle of the handlebars by loosening the stem bolts and rotating the handlebars forward or backward. 3. Adjust the width of the handlebars by trimming them to the desired length with a saw or hacksaw, if necessary.
Testing New Handlebars
Before taking your bike for a ride, it's important to test the new handlebars to make sure they're securely installed and adjusted correctly. Follow these steps:
- Test the tightness of the stem bolts by gently trying to move the handlebars from side to side.
- Test the brakes and shifters to make sure they're working properly.
- Take a short test ride to make sure the new handlebars feel comfortable and the bike handles well.
Maintenance Tips for New Handlebars
To keep your new handlebars in good condition and ensure they last as long as possible, consider the following maintenance tips:
- Check the tightness of the stem bolts periodically to make sure the handlebars remain securely in place.
- Check the tape or grips on the handlebars for wear and replace them as necessary.
- Keep the handlebars clean and free from dirt and grime that can damage the material over time.
Safety Precautions
When working on your bike, it's important to take safety precautions to avoid injury. Consider the following:
- Wear protective gear, including gloves and eye protection.
- Make sure your bike is secure on a bike stand or other stable surface.
- Use the proper tools and follow instructions carefully.
Conclusion
Changing bike handlebars can be a straightforward process that greatly impacts the rider's comfort and overall ride quality. By following the steps outlined in this article and taking proper safety precautions, you can successfully change your bike handlebars on your own. It may seem intimidating at first, but with the right tools and knowledge, it can be done easily and quickly.
Remember to take your time and not rush the process. Double-check everything and make sure the handlebars are securely installed and adjusted to your liking before taking your bike out for a ride. Also, don't forget to maintain your new handlebars to ensure their longevity and optimal performance.
We hope this guide has been helpful in showing you how to change bike handlebars. If you have any questions or concerns, feel free to consult a professional or seek advice from a trusted bike shop.
FAQs
Do I need to buy new brake and shifter cables when changing my handlebars?
It depends on how much you adjust your handlebars. If you're only making small adjustments, you can likely reuse your existing cables. However, if you're making significant changes to the height or angle of the handlebars, you may need longer or shorter cables.
Can I install new handlebars on my bike without any previous mechanical experience?
While it's possible to install new handlebars without prior experience, it's recommended that you have some basic knowledge of bike mechanics or seek the help of a professional.
How do I know if my handlebars are the correct size for my bike?
The correct size of handlebars for your bike will depend on your bike's measurements and your own riding preferences. It's best to consult a professional or do research to find the right size for you.
Can I use a regular saw to trim my handlebars to the desired width?
No, you should use a hacksaw or another specialized tool designed for cutting bike handlebars to ensure a clean and precise cut.
How often should I check the tightness of the stem bolts on my handlebars?
It's recommended to check the tightness of the stem bolts on your handlebars regularly, especially after the first few rides. The vibrations from riding can cause the bolts to loosen over time, which can compromise the stability and safety of your handlebars. It's a good idea to check the tightness of your stem bolts every few weeks or after any significant impacts or crashes.
