How to Change Bike Pedals: A Step-by-Step Guide for Cyclists
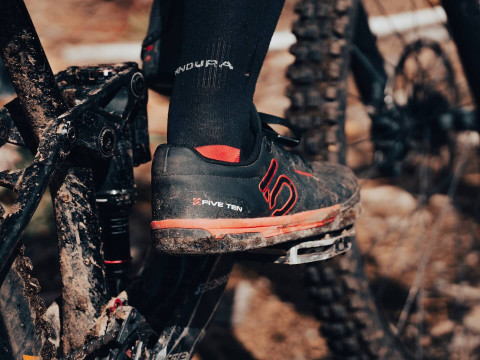
If you're an avid cyclist, you know the importance of having a well-maintained bike. One crucial component of any bicycle is its pedals, as they are responsible for transferring power from your legs to the wheels. Over time, bike pedals can wear out, or you may simply want to upgrade to a different type of pedal. Whatever the reason, changing your bike pedals is a straightforward process that any cyclist can learn to do. In this article, we'll provide you with a step-by-step guide on how to change bike pedals.
Introduction: Why Change Your Bike Pedals?
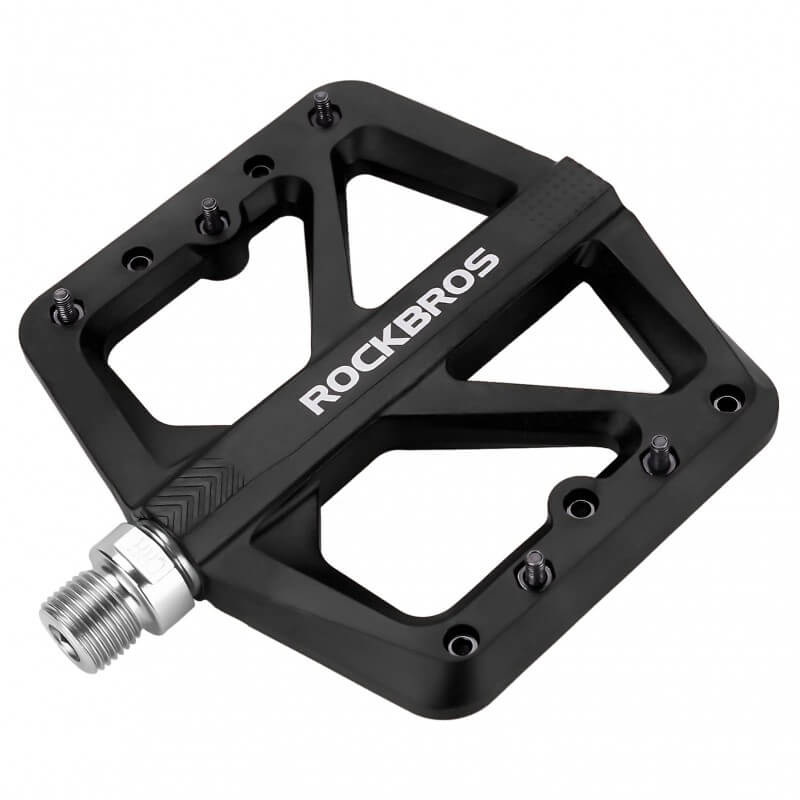
If you've never thought about changing your bike pedals before, you may be wondering why you would want to. There are several reasons why cyclists change their pedals. First, if your pedals are old or worn out, they may not perform as well as they once did, which can impact your overall cycling experience. Second, if you're switching to a different type of pedal, such as from flat pedals to clipless pedals, you'll need to change your pedals to accommodate your new cycling shoes. Finally, changing your pedals can simply be a way to upgrade your bike and improve its performance.
Required Tools and Equipment
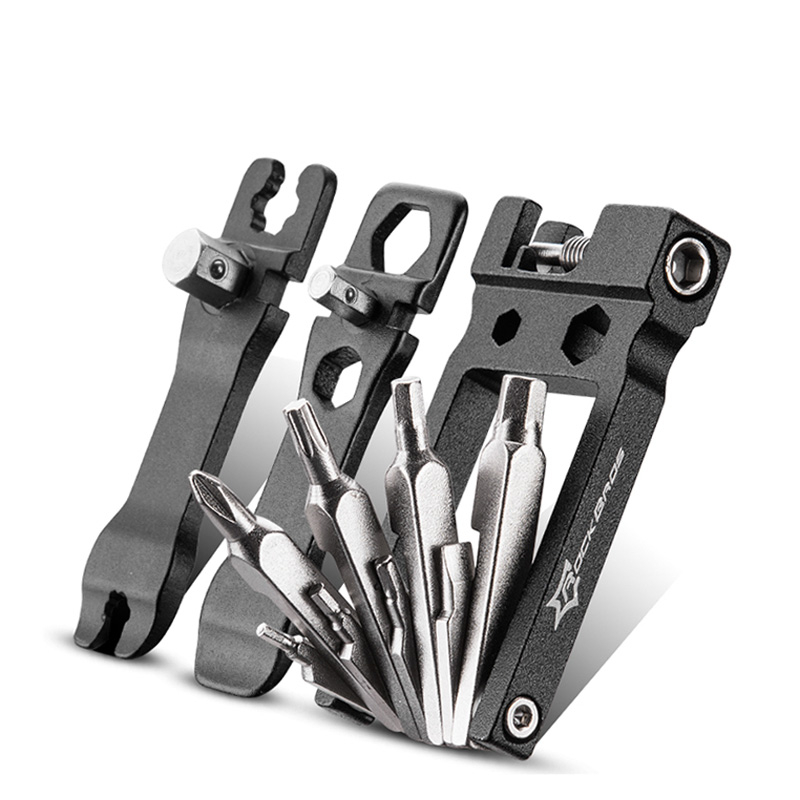
Before you get started, you'll need a few tools and pieces of equipment to change your bike pedals:
- Pedal wrench or Allen wrench (depending on your pedal type)
- Grease
- A rag or towel
- New pedals
Step 1: Removing Your Old Pedals
The first step in changing your bike pedals is to remove your old pedals. To do this, follow these steps:
- Flip your bike over so that it's resting on the handlebars and seat.
- Determine which direction you need to turn the pedals to loosen them. Typically, you'll need to turn the left pedal counterclockwise and the right pedal clockwise.
- Insert your pedal wrench or Allen wrench into the pedal spindle and turn it counterclockwise to loosen the pedal.
- Once the pedal is loose, use your hand to unscrew it the rest of the way and remove it from the bike.
- Repeat steps 3 and 4 for the other pedal.
Step 2: Preparing Your New Pedals
Now that you've removed your old pedals, it's time to prepare your new pedals for installation. Follow these steps:
- Apply a small amount of grease to the threads on the spindle of each pedal.
- Use a rag or towel to wipe away any excess grease.
Step 3: Installing Your New Pedals
With your new pedals prepared, it's time to install them on your bike. Follow these steps:
- Determine which pedal goes on the left side of your bike (it will be labeled "L") and which goes on the right (labeled "R").
- Insert the pedal spindle into the crank arm and turn it clockwise to thread it in.
- Tighten the pedal using your pedal wrench or Allen wrench. Be sure to tighten it securely, but don't over-tighten it, as this can damage the pedal or the crank arm.
- Repeat steps 2 and 3 for the other pedal.
Step 4: Tightening Your New Pedals
Once both pedals are installed, it's important to double-check that they are securely tightened. To do this, follow these steps:
- Use your pedal wrench or Allen wrench to tighten each pedal again, making sure they are snug and secure.
- Check that the pedals are aligned correctly and facing in the same direction.
- Give each pedal a firm push with your hand to ensure they are properly seated.
Tips for Maintaining Your Bike Pedals
Now that you've successfully changed your bike pedals, it's important to take care of them to ensure they last as long as possible. Here are a few tips for maintaining your bike pedals:
- Regularly clean your pedals to remove dirt and debris that can cause damage or wear them out faster.
- Apply a small amount of grease to the pedal threads every time you install new pedals or remove and reinstall your current ones.
- Check your pedals for damage or wear and tear regularly. If you notice any issues, replace them promptly to avoid further damage.
Conclusion
Changing your bike pedals may seem like a daunting task, but with the right tools and a little bit of know-how, it's a simple process that any cyclist can do. By following the steps we've outlined in this article, you can confidently change your bike pedals and keep your bike running smoothly.
FAQs
How often should I change my bike pedals? It depends on how frequently you ride and the condition of your pedals. If you notice signs of wear and tear or your pedals are not performing as well as they used to, it may be time to replace them.
Do I need a special tool to remove and install bike pedals? Yes, you'll need a pedal wrench or an Allen wrench, depending on your pedal type, to remove and install your pedals.
Can I switch from flat pedals to clipless pedals on my own? Yes, you can switch from flat pedals to clipless pedals on your own, but you'll need to make sure your new pedals are compatible with your cycling shoes.
Should I grease my pedal threads? Yes, applying a small amount of grease to the threads on the spindle of your pedals can help prevent damage and ensure they last longer.
How tight should I tighten my new pedals? You should tighten your new pedals securely, but be careful not to over-tighten them, as this can damage the pedals or the crank arm.
